Sometimes fins break when they travel into something else than water, such as rocks, other surfboards, or due to shocks during transport. Unfortunately, if you’re reading this, you probably already know that. The silver lining is that broken fins usually spare the fin box and the rest of the board because they break first. It’s much better and more cost-effective to replace a fin than a fin box.
So, let’s get into how to do it. Unscrewing a broken fin base can be a bit challenging, but with the right tools and techniques, you can remove them successfully. Here’s a step-by-step guide to help you with the process:
1. Apply Penetrating Oil:
If the fin base is stuck due to corrosion from the screws or simply salt residues, generously apply penetrating oil like WD-40 to the broken fin base’s area. Let it sit for at least 15-30 minutes to allow the oil to penetrate and loosen any residue.
2. In the meantime, drill a Small Hole in the Base:
Clean the top of the fin base and use some tape to prevent your drill from sliding into your board and creating holes. Drill a small hole into the broken base.
3. Insert a Wooden Screw:
Use a wooden screw and insert it into the hole you just created in the base. It should stay firmly in the broken base without going through it. You can use a marker to see the screwing depth limit to avoid damaging the plug.
4. Use Pliers:
Grab a pair of pliers and, at the same time, pull on the screw you just inserted. Don’t forget to unscrew completely the grub screw made to keep your fins in their base.
And there you have it! You should now have been able to pull the broken fin base from your board and should be ready to install new fins. If you need some, check out our website. We offer great fins at fair prices with worldwide delivery!
Did it work for you? Do you use another technique?
Tell it to us in a comment.
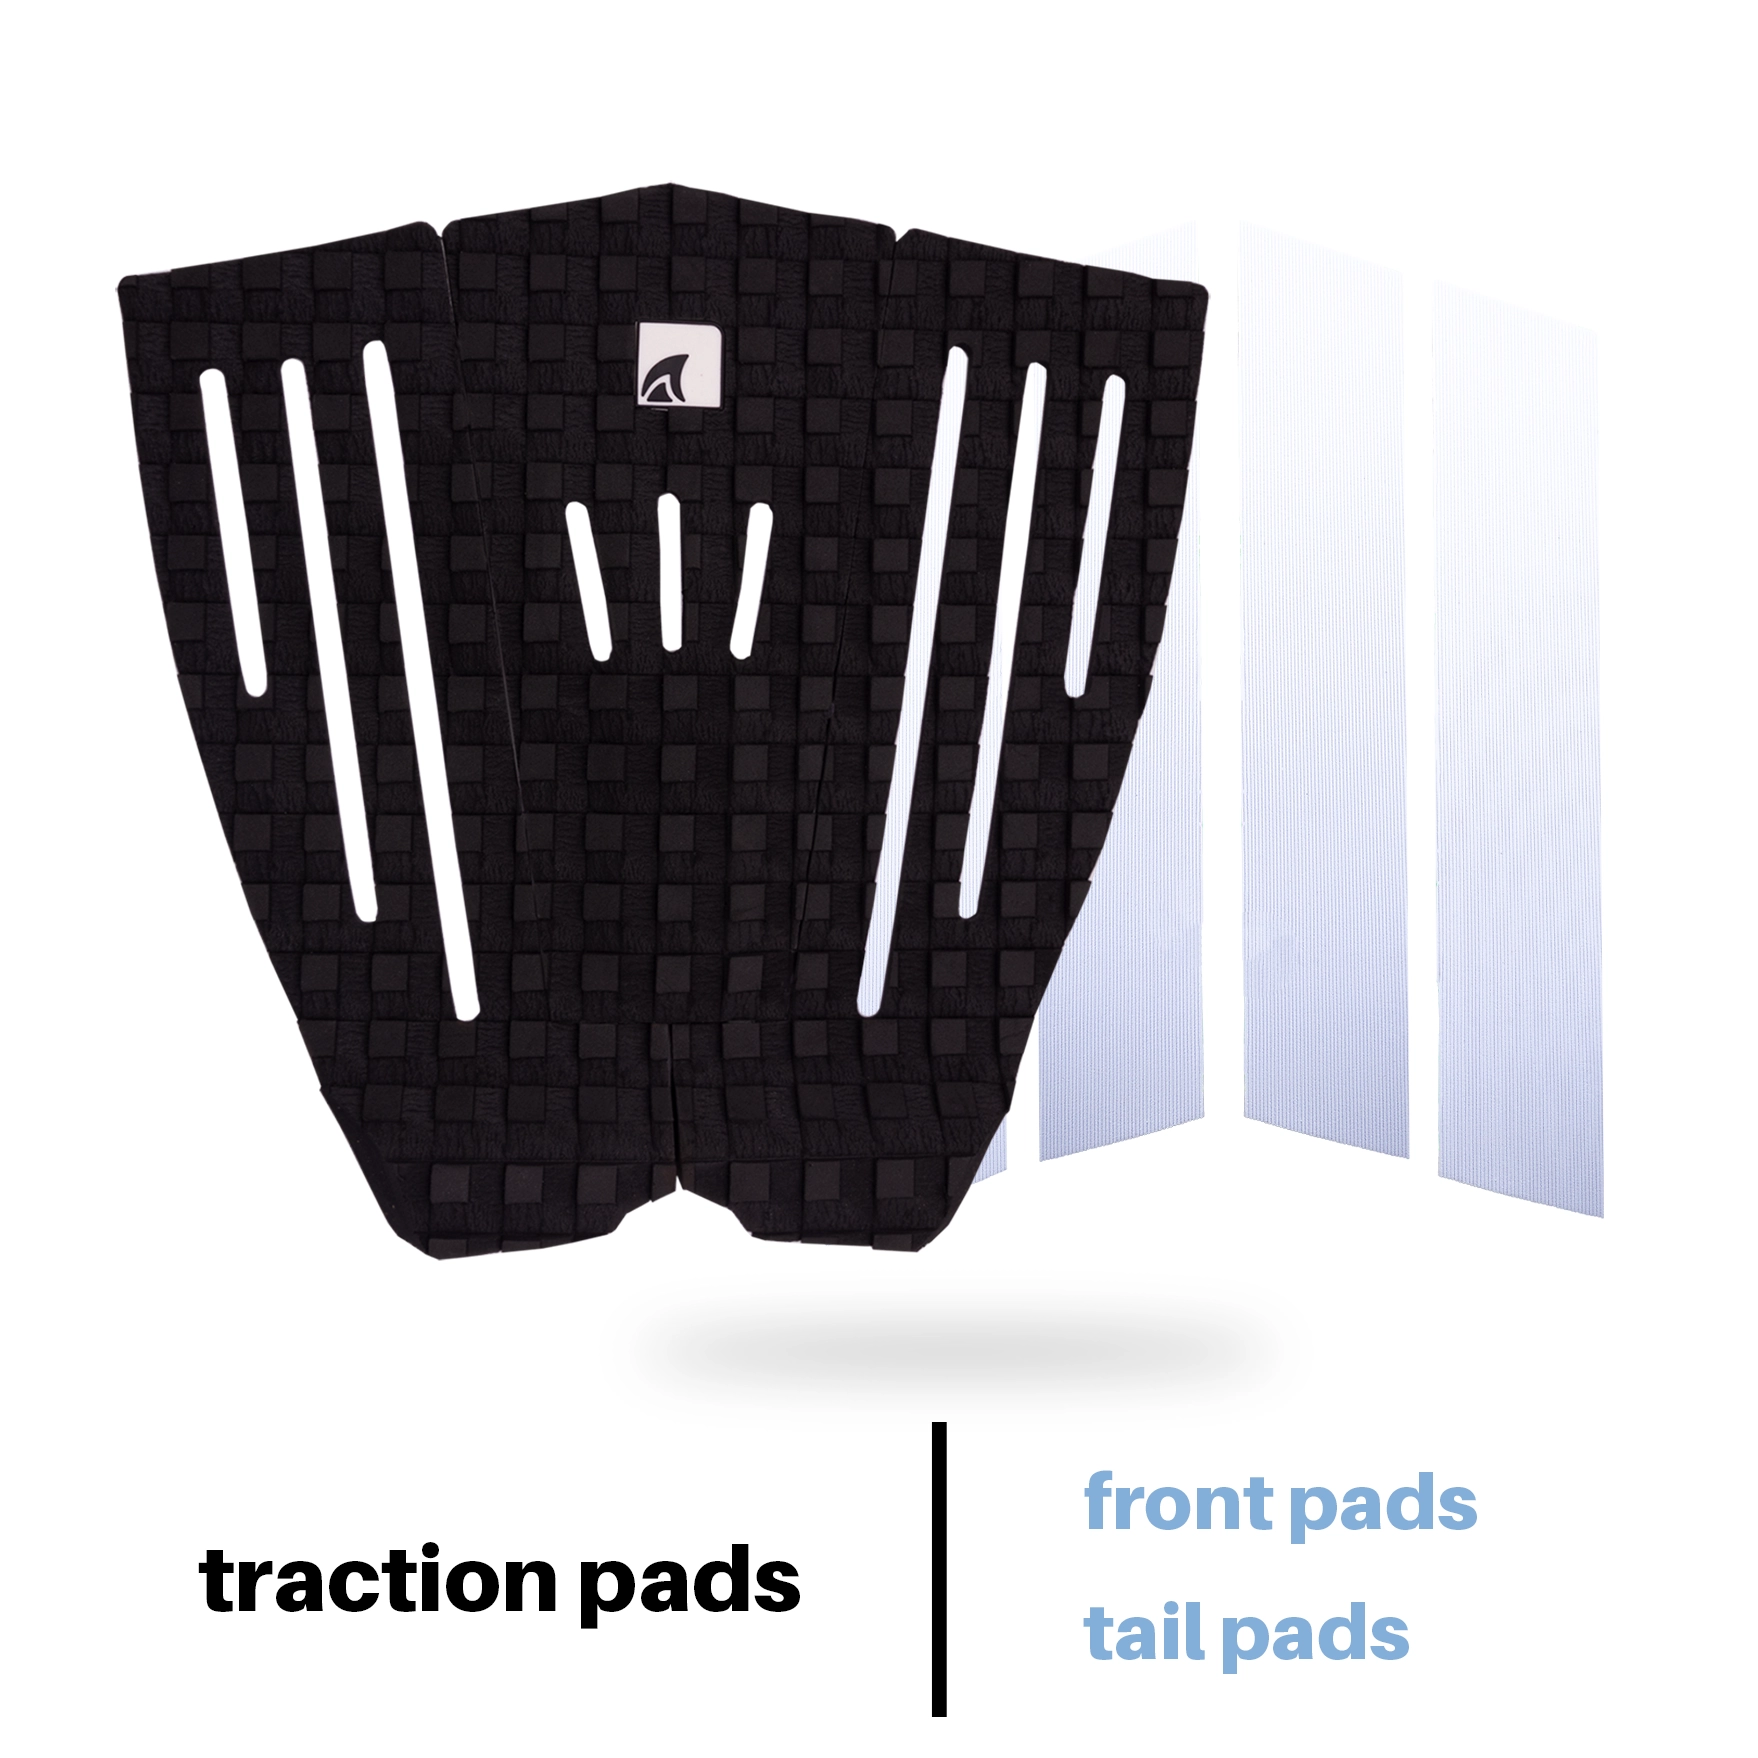
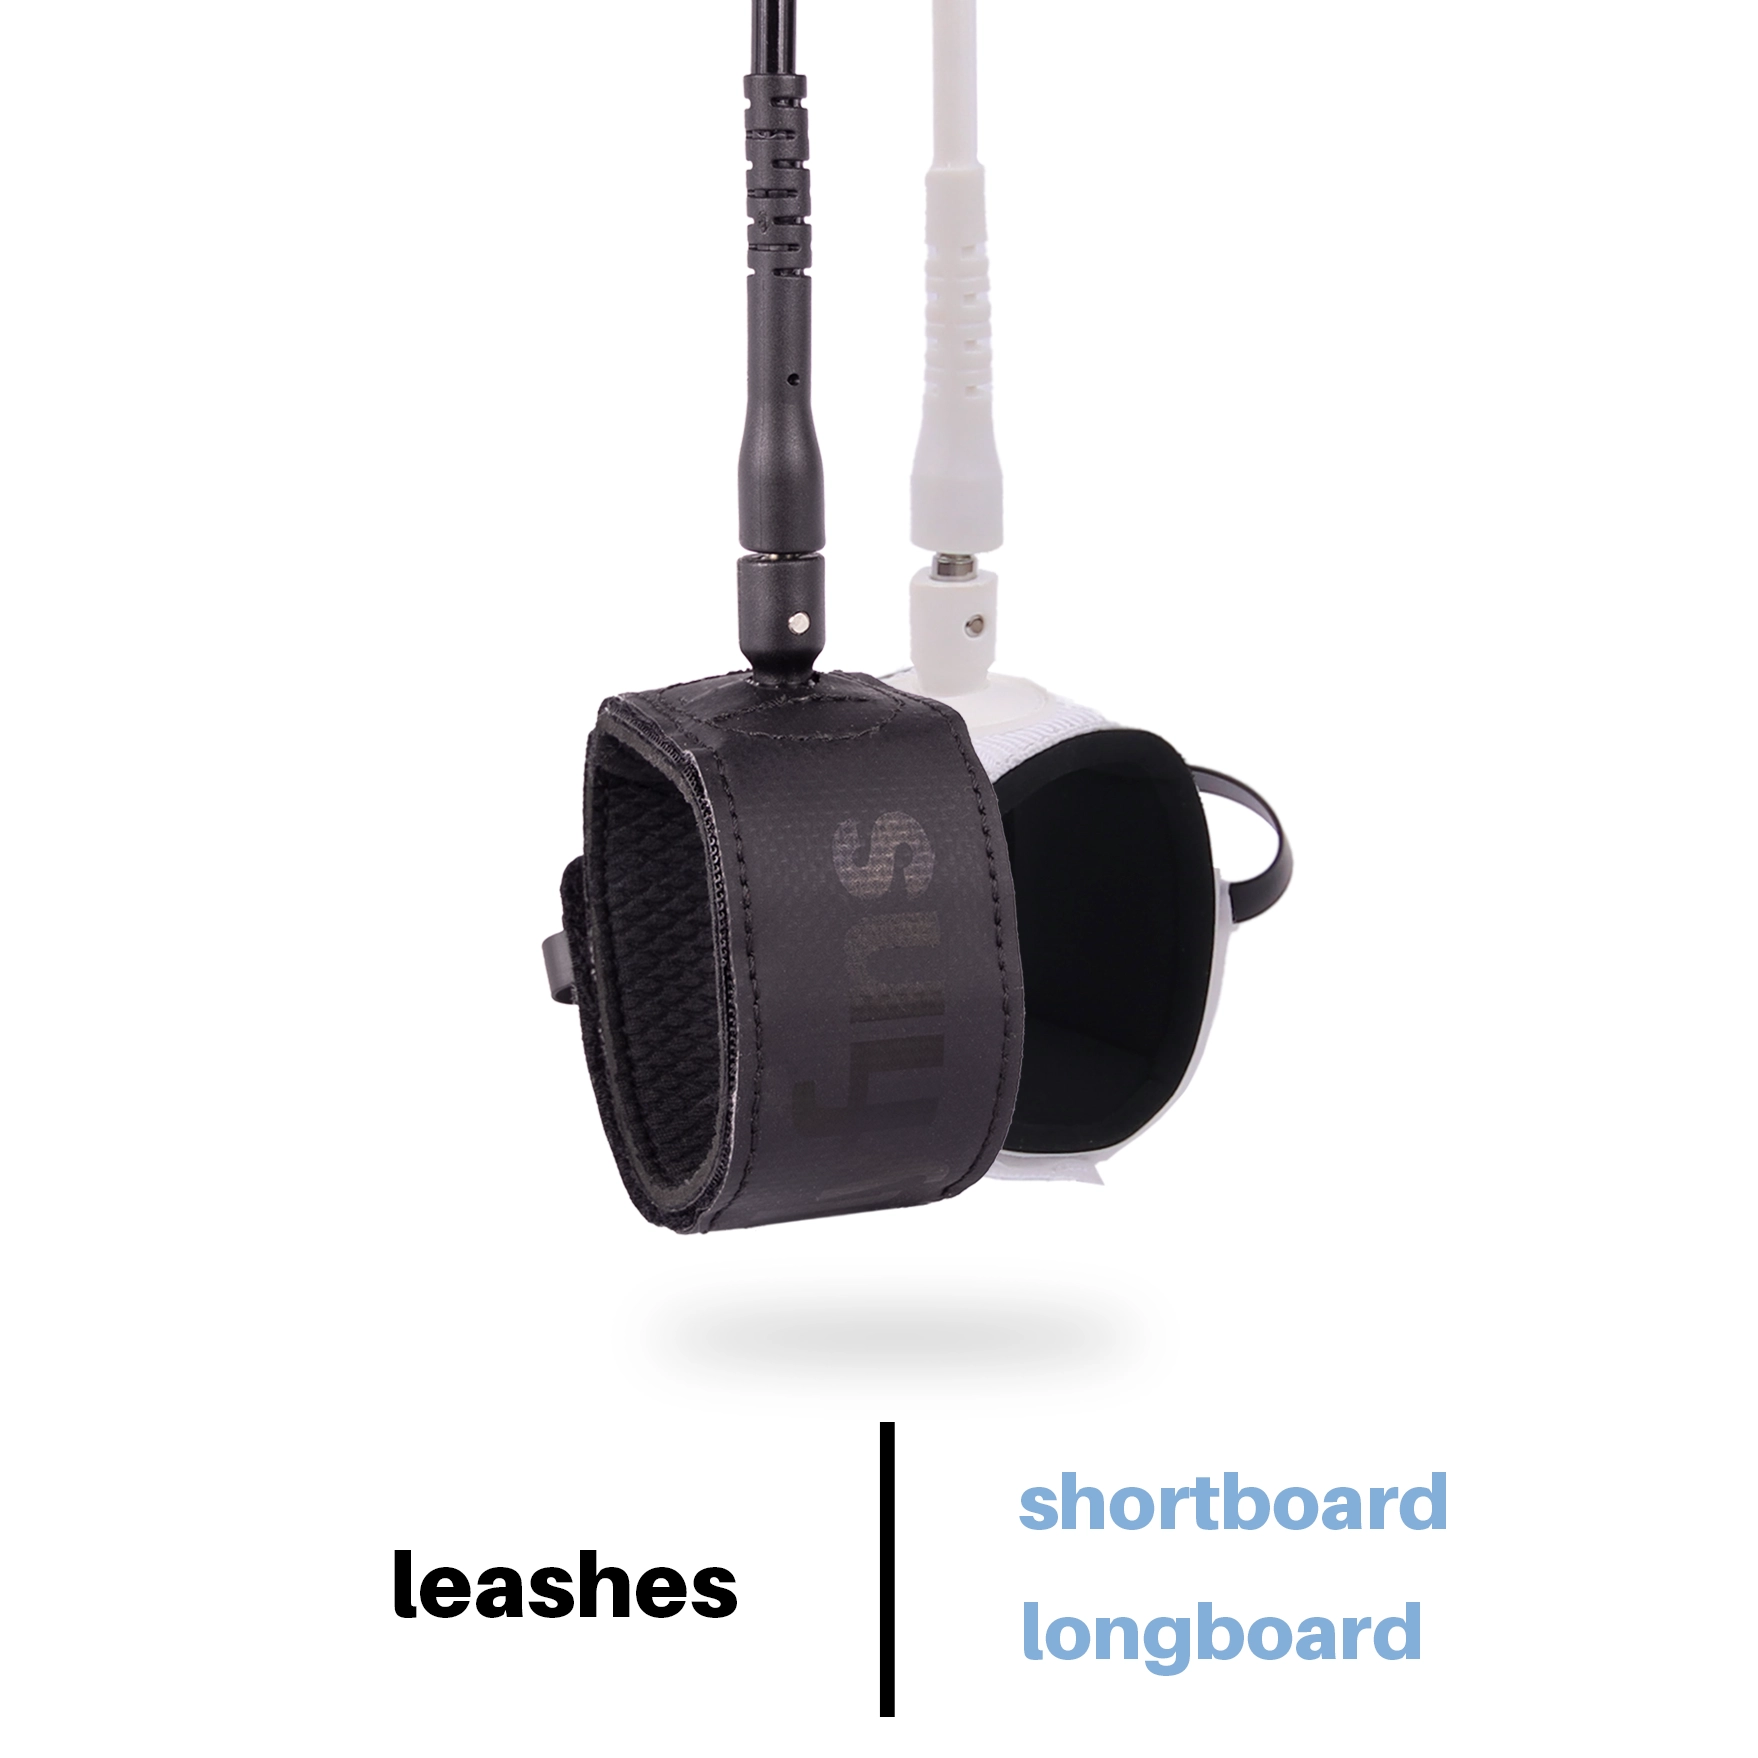
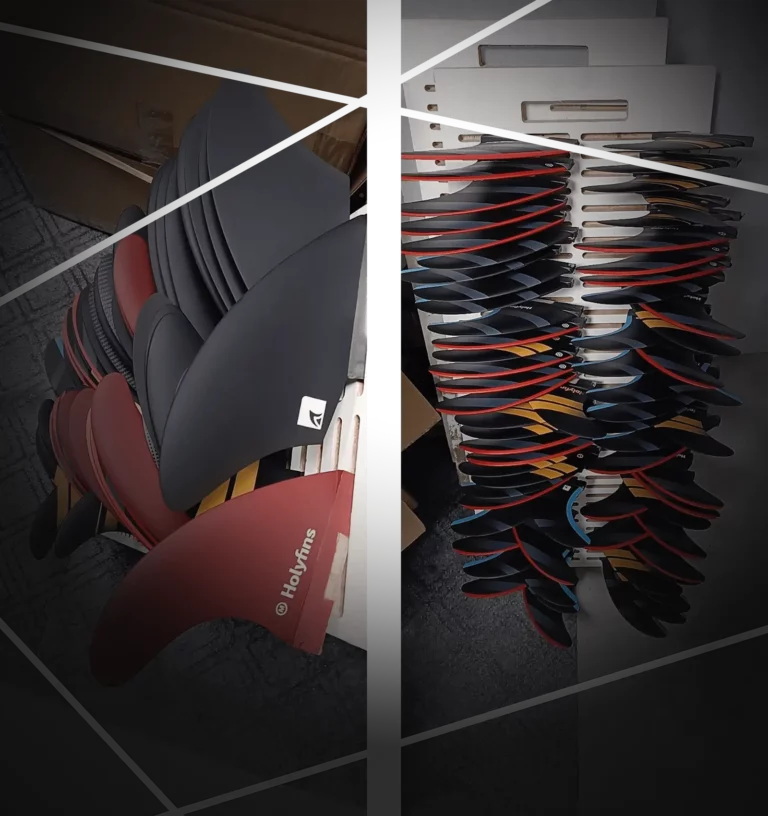
If you need any surfing equipment, have a look at our performant and accessible Fins , Traction Pads, and Leashes, we deliver worldwide!







Leave a Reply